Insert your model provider API key
Go to LLM Models and create model with your model provider API key.
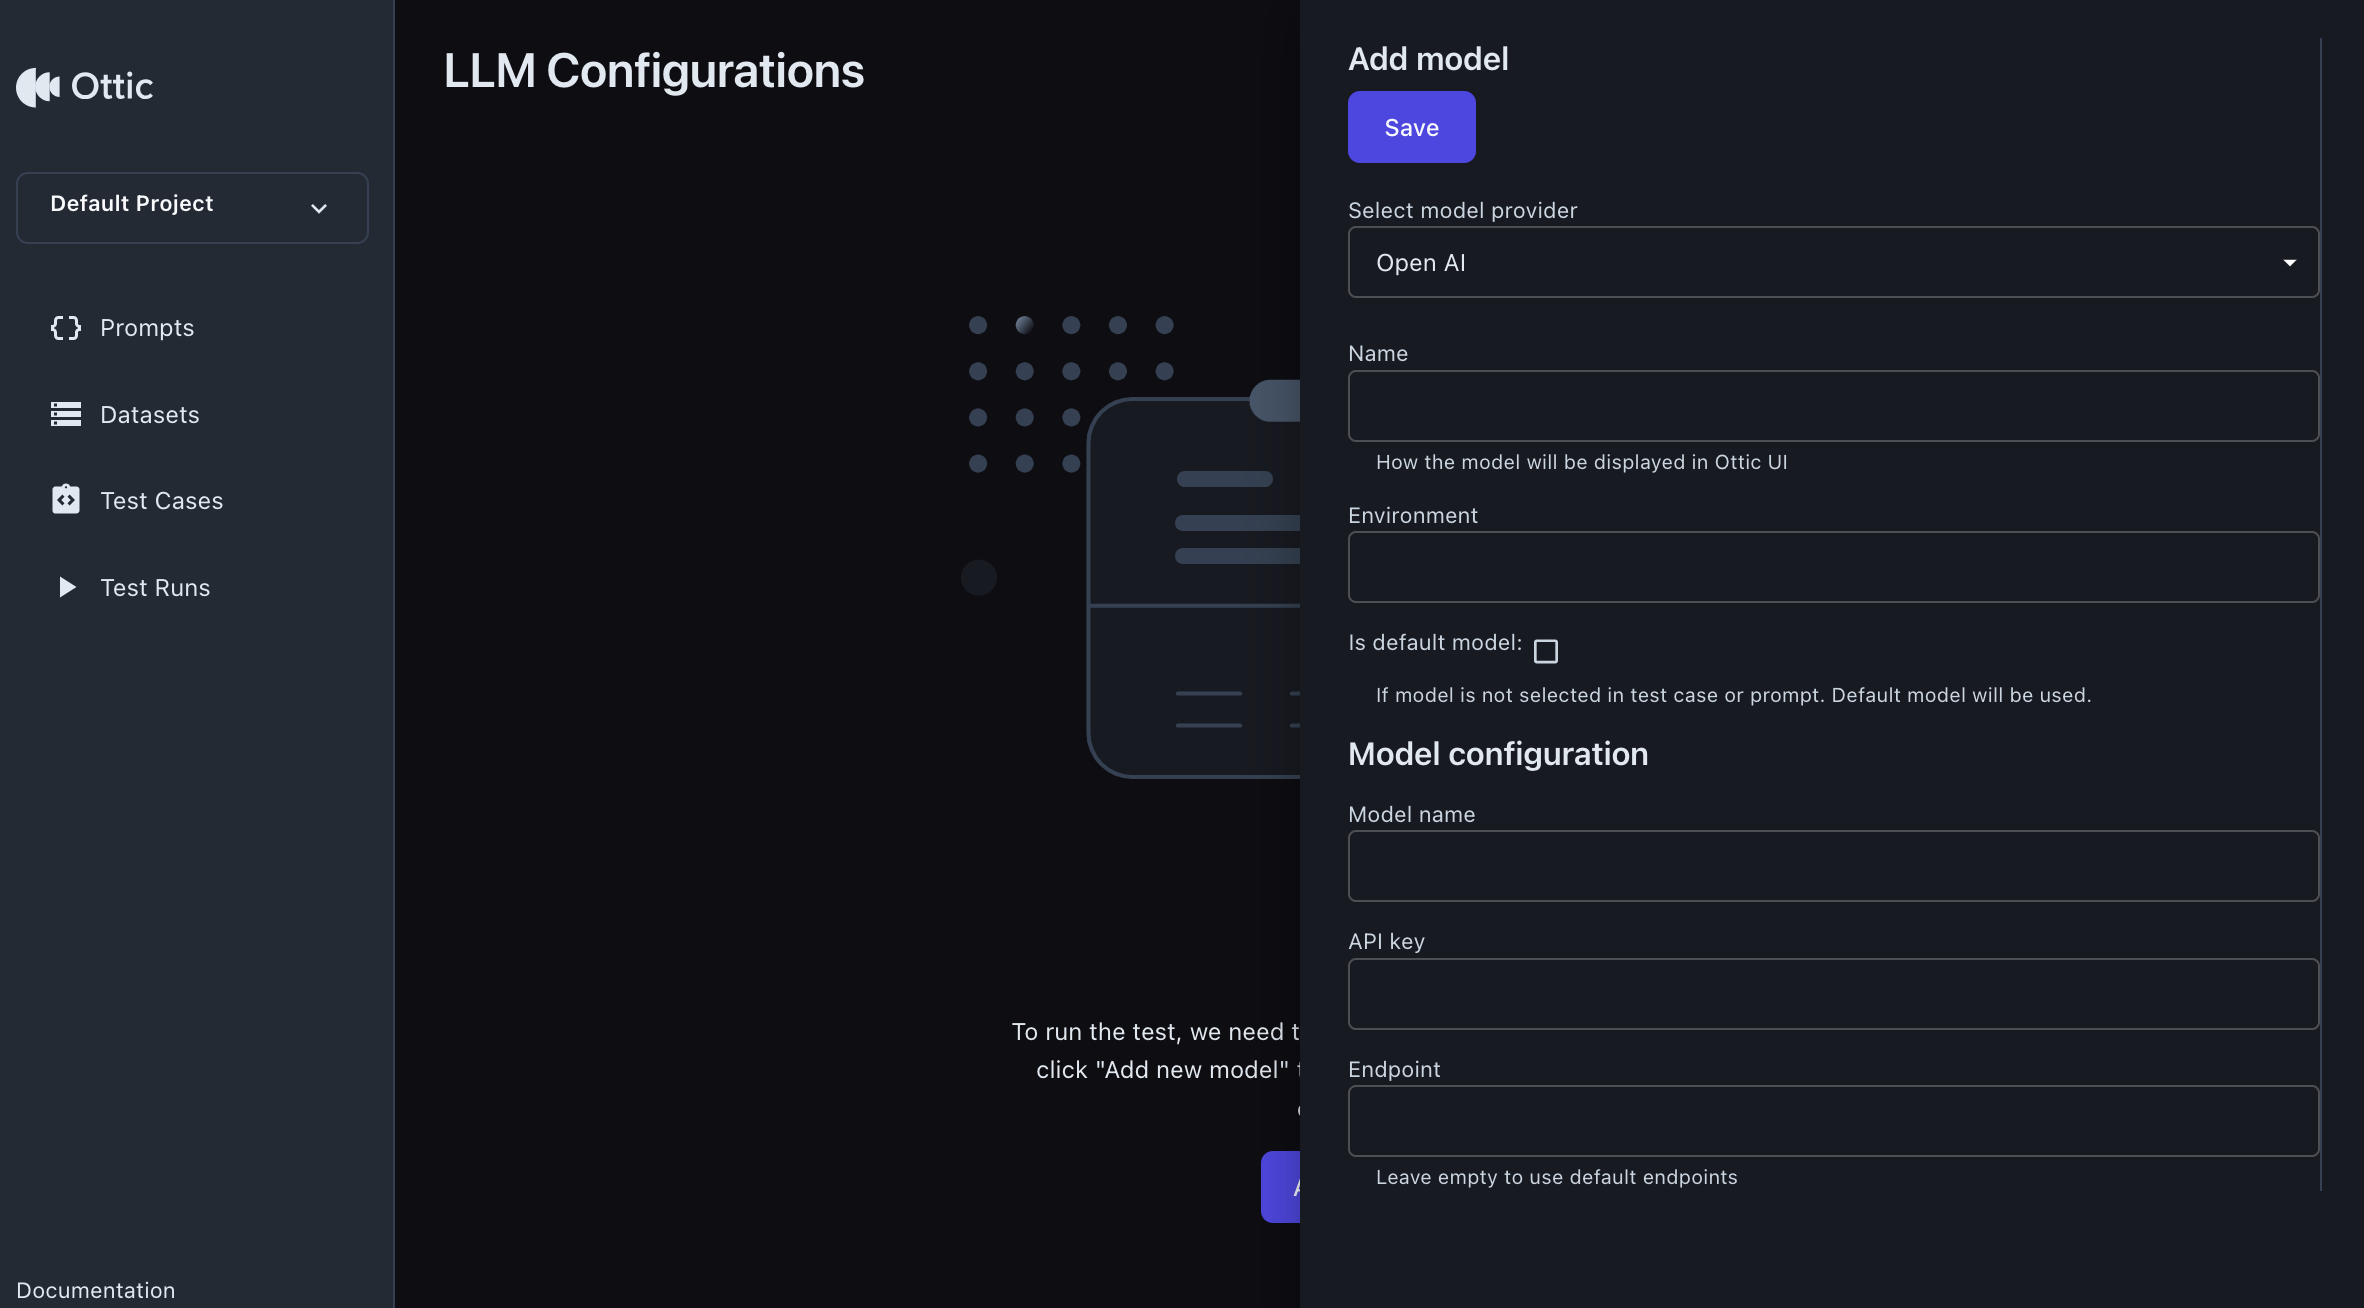
This is essential enabling you to run LLM-as-a-judge evaluations.
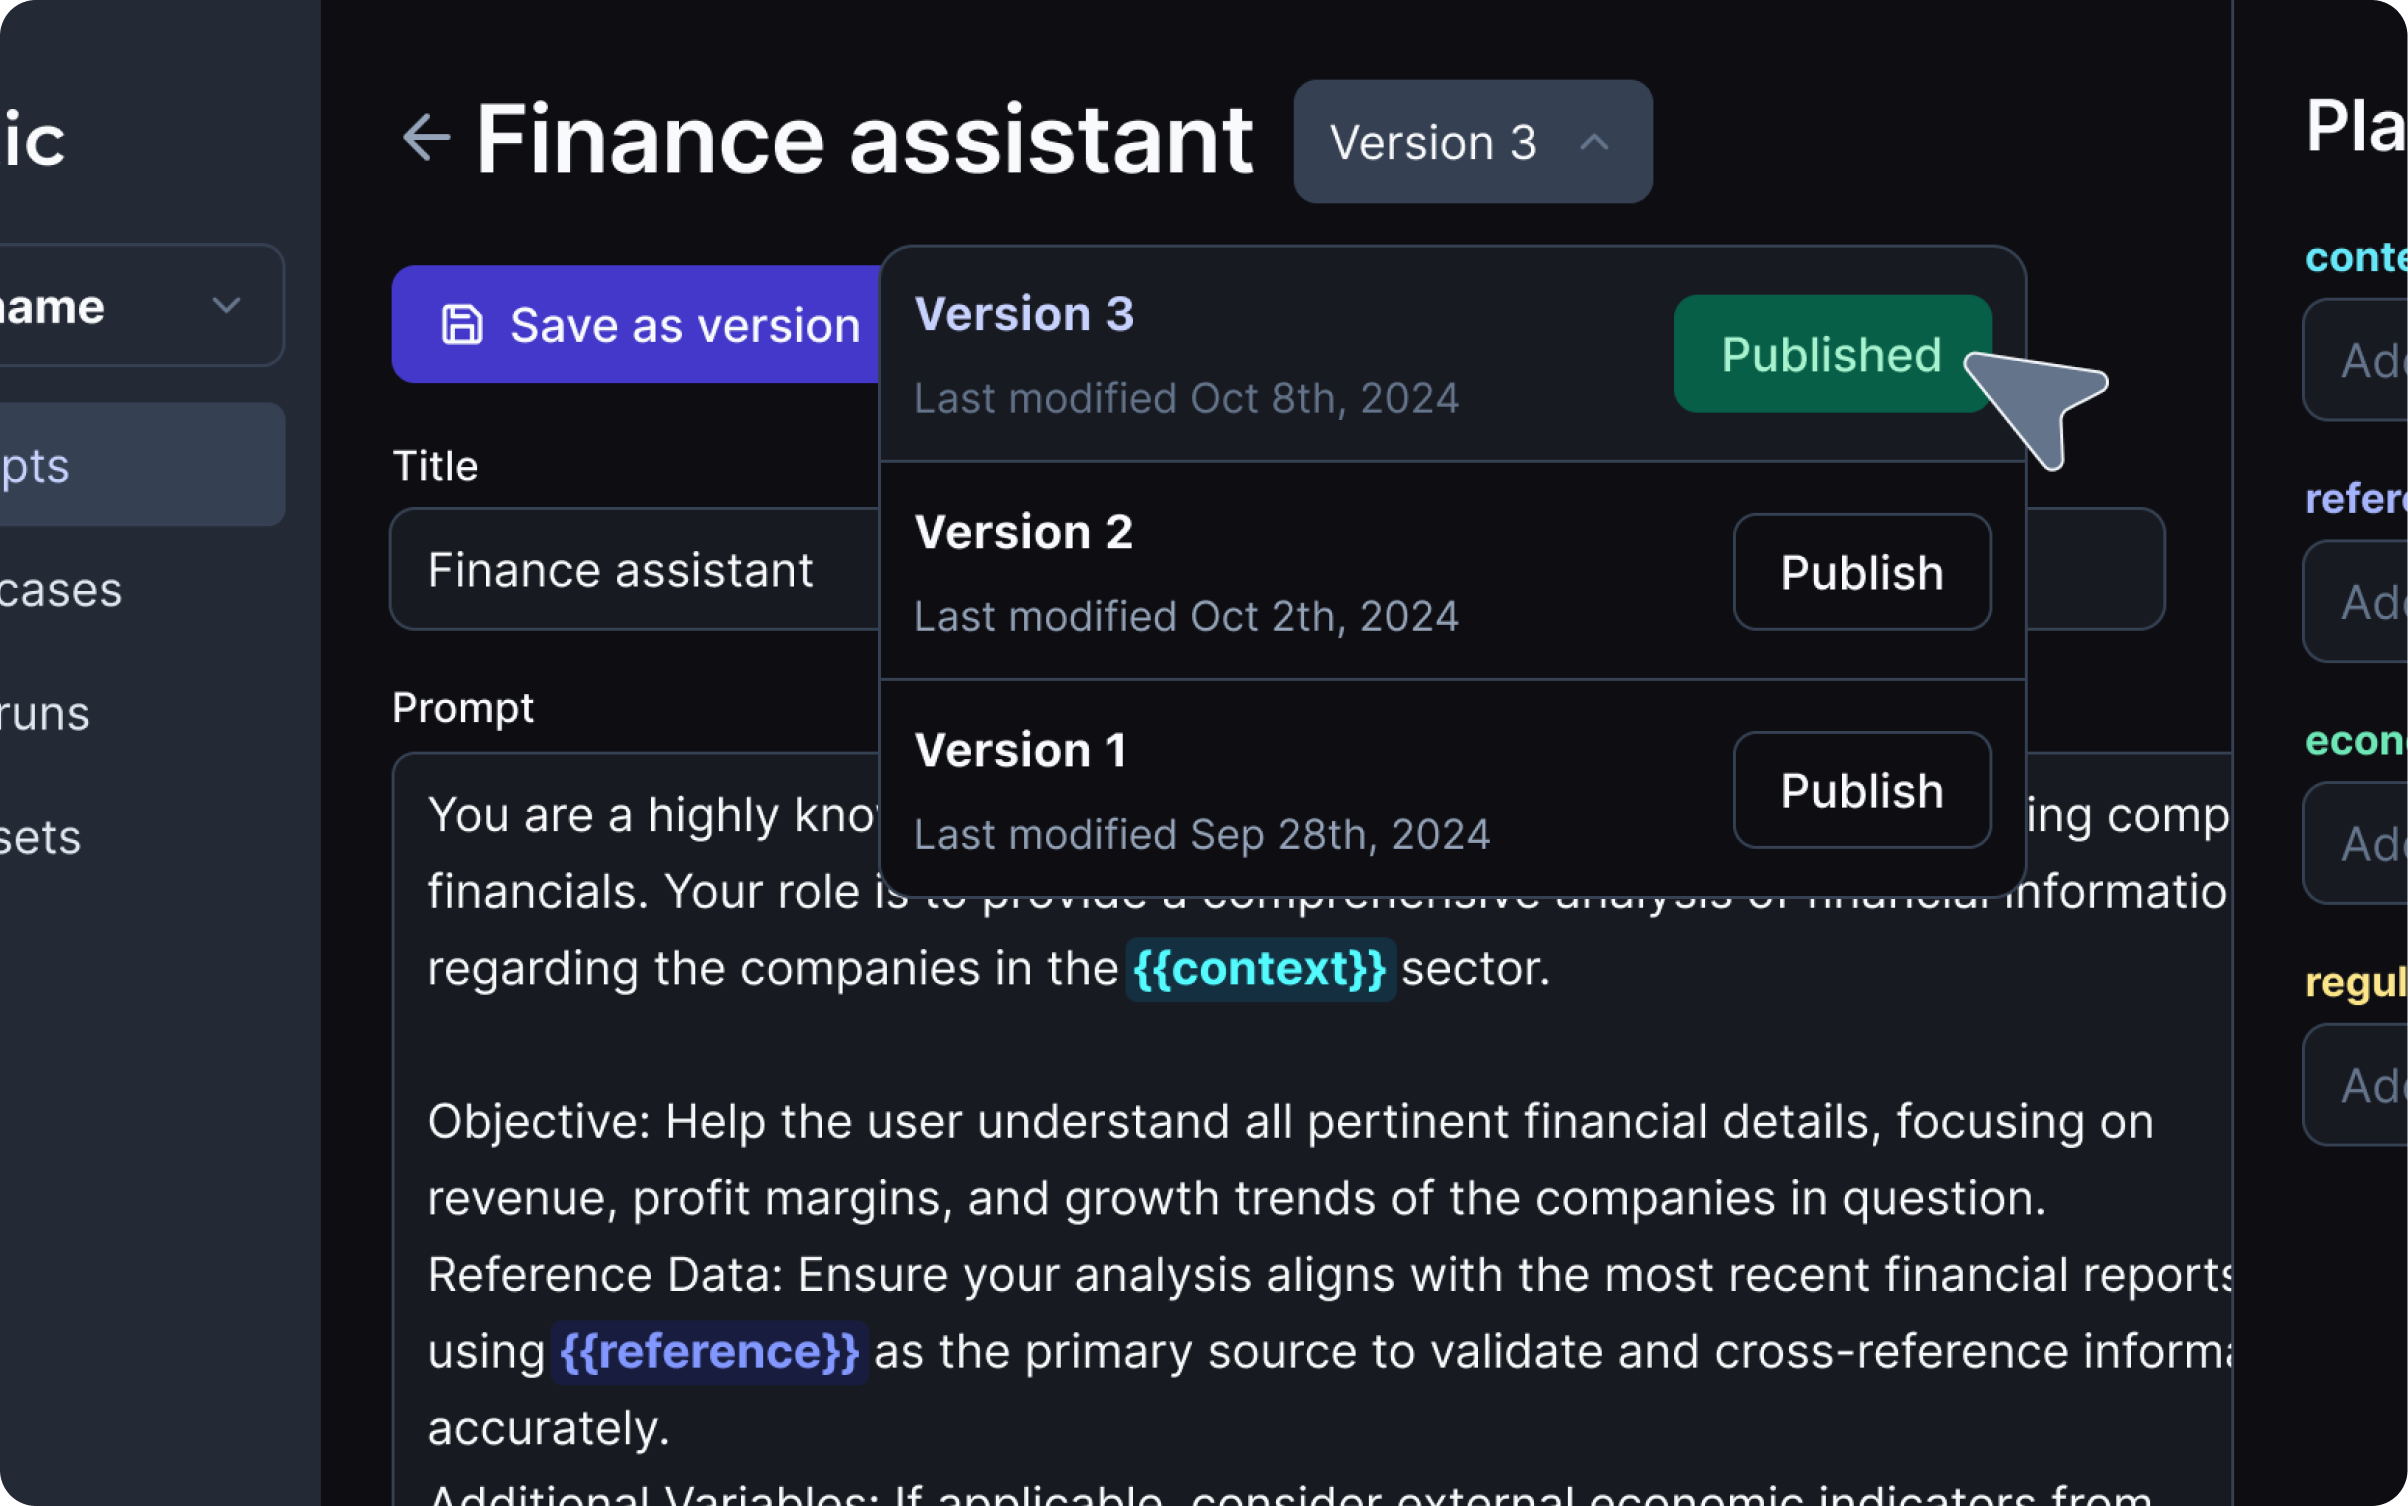
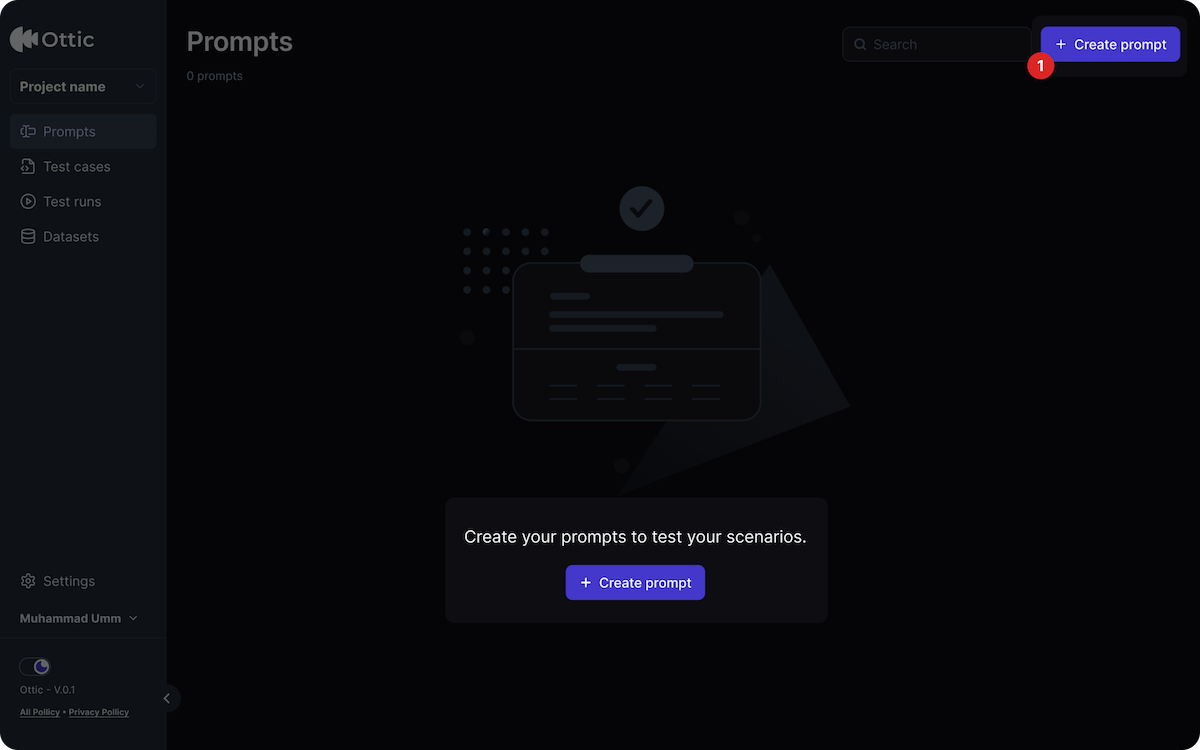
Create your first prompt
In the
Prompts menu:- Click “Create new prompt”;
- Add the prompt you will test;
- Save the prompt you created.
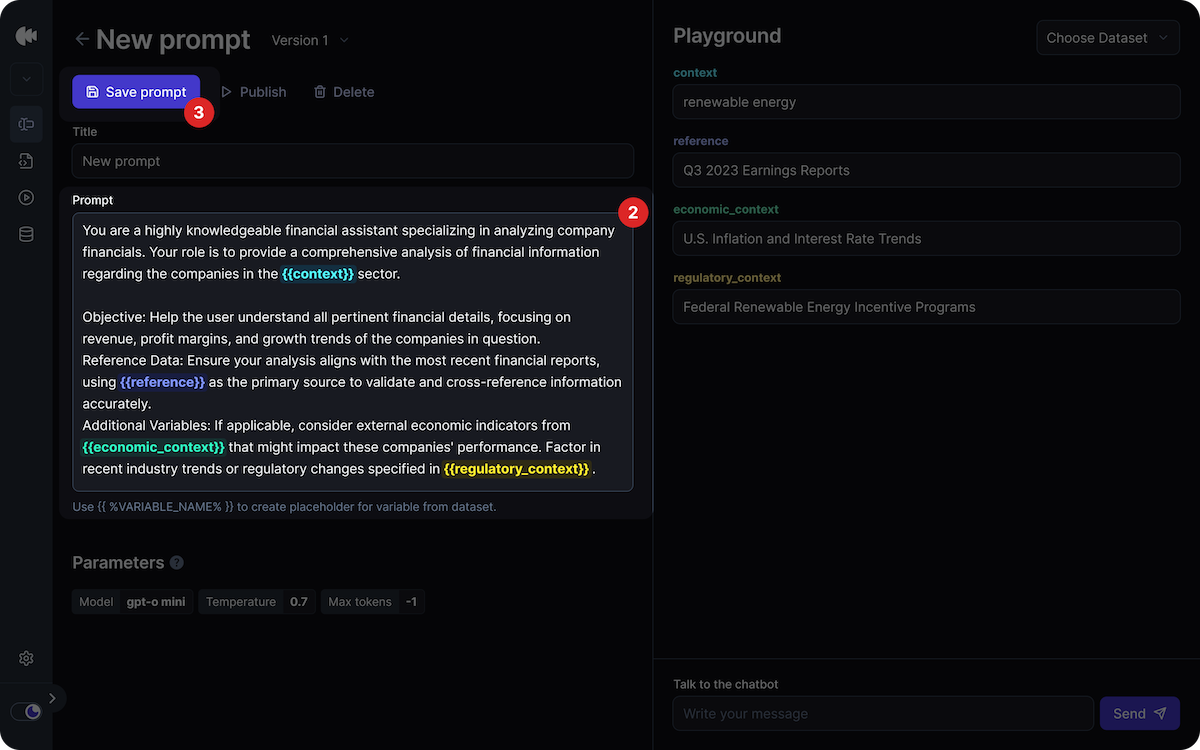
See more on prompts in the section create prompts
Write your first test case
In the
Test Cases menu:-
(1) Click “Create new test case”;

-
(2) Define of details of your test case (title and description);
- Choose the prompt you just created;
- Add the input (the message you want to test);
- Add the expected output (the response expected);
-
(3) Save your test case.

See more on test cases in the section write test cases
We provide an API to migrate your test cases to Ottic. See more on API reference
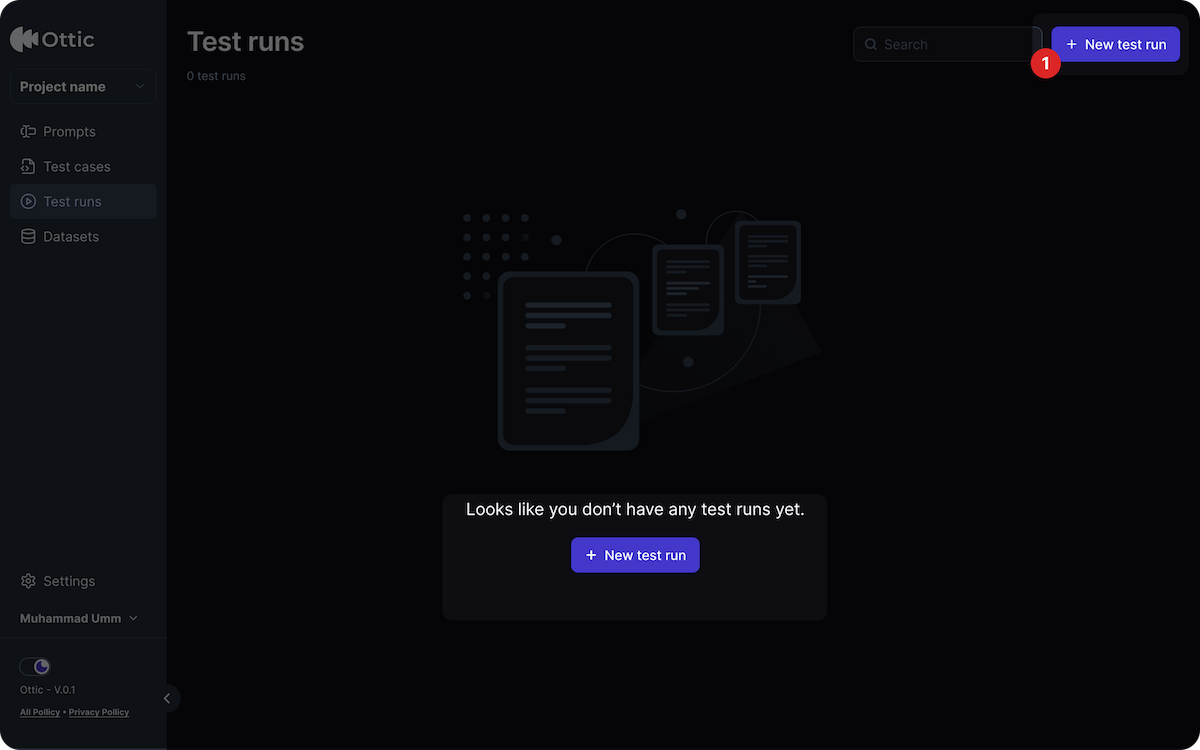
Run your first test
In the
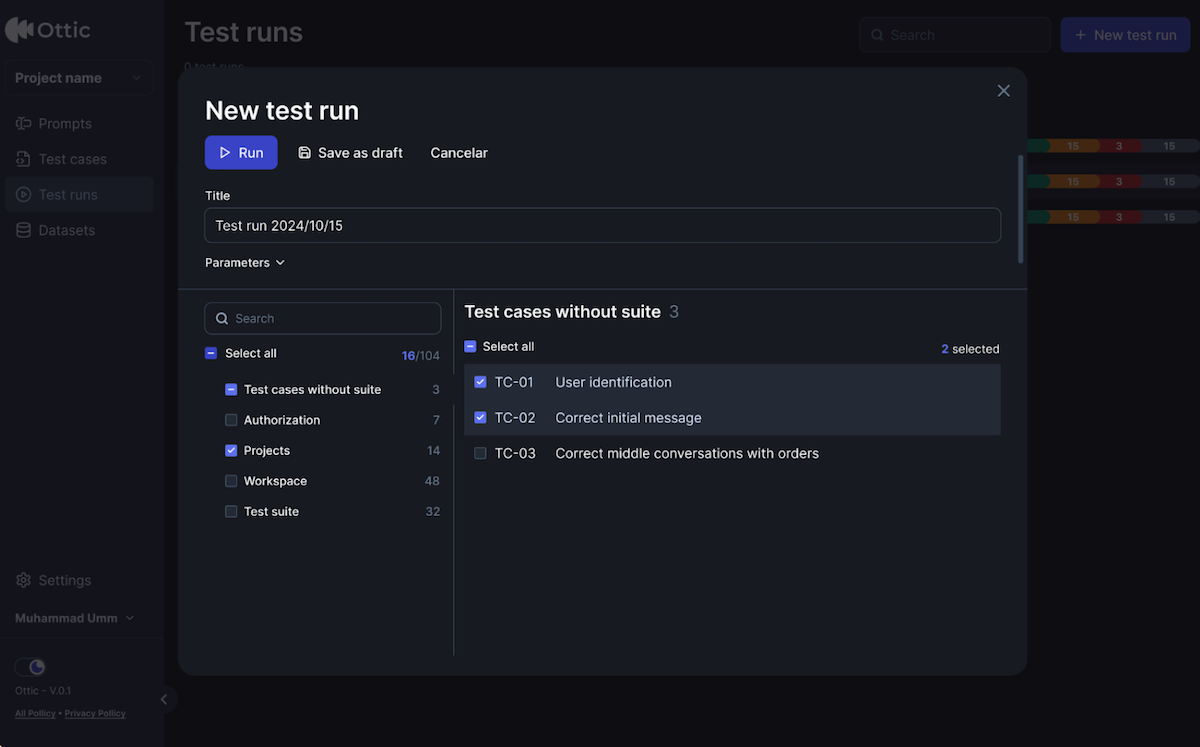
Test Runs menu:- Click “Start new test run”;
- Select the test case you just created;
- Click, “Run” to run your test;
- See the result (passed, failed);
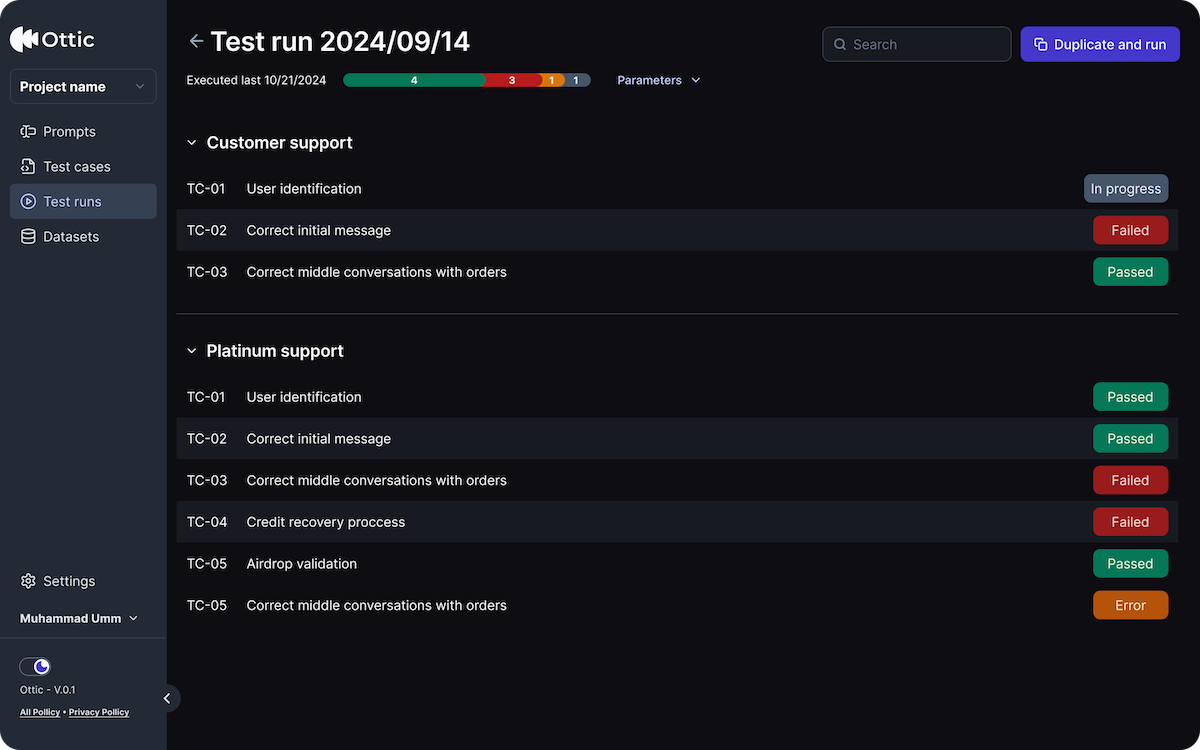
- Open the executed test case to explore details and reasoning.
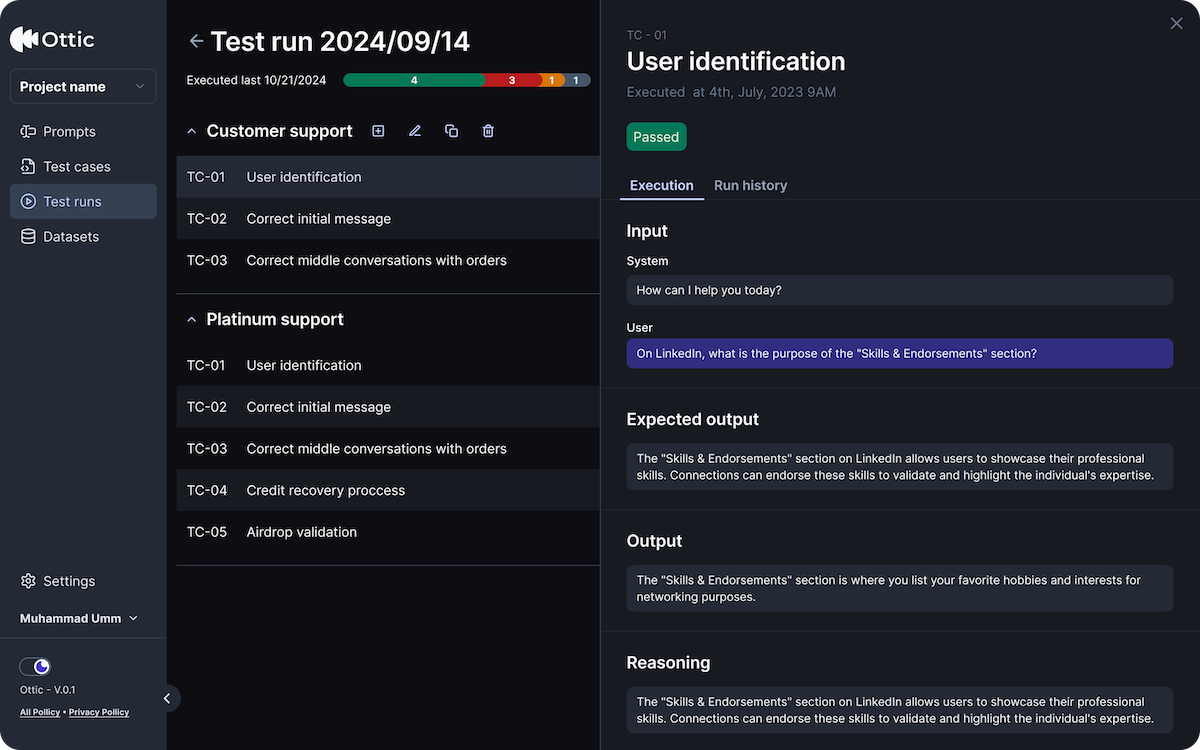
See more on test runs in the section execute test runs