> ## Documentation Index
> Fetch the complete documentation index at: https://docs.ottic.ai/llms.txt
> Use this file to discover all available pages before exploring further.
# Start a project
> How to create your first project
`Projects` allow you to organize your test cases by putting them into separate spaces in Ottic.
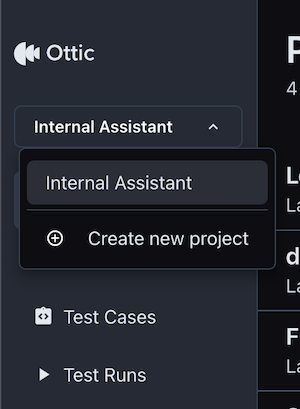
In the top-left corner, you can:
* **Switch** between existing projects
* **Create** a new project.
* **Rename** a project
* **Delete** a project
 Create a different project for each LLM product. This prevents mixing up test cases related to different applications.
## View demo project
Try Ottic yourself with a view-only project.
* [Acess Ottic demo project](https://www.youtube.com/watch?v=9vIcwxaolOM\&t=1s)
Prefer a quick video? Watch this [Introduction to Ottic (1 min)](https://www.youtube.com/watch?v=9vIcwxaolOM\&t=1s)
### Next steps:
Once you create a project, you can start adding prompts through the Prompts\` menu.
Learn how on the next section.
Create a different project for each LLM product. This prevents mixing up test cases related to different applications.
## View demo project
Try Ottic yourself with a view-only project.
* [Acess Ottic demo project](https://www.youtube.com/watch?v=9vIcwxaolOM\&t=1s)
Prefer a quick video? Watch this [Introduction to Ottic (1 min)](https://www.youtube.com/watch?v=9vIcwxaolOM\&t=1s)
### Next steps:
Once you create a project, you can start adding prompts through the Prompts\` menu.
Learn how on the next section.